How to add your brand's logo to your form?
A few simple steps to add your brand's logo to your form
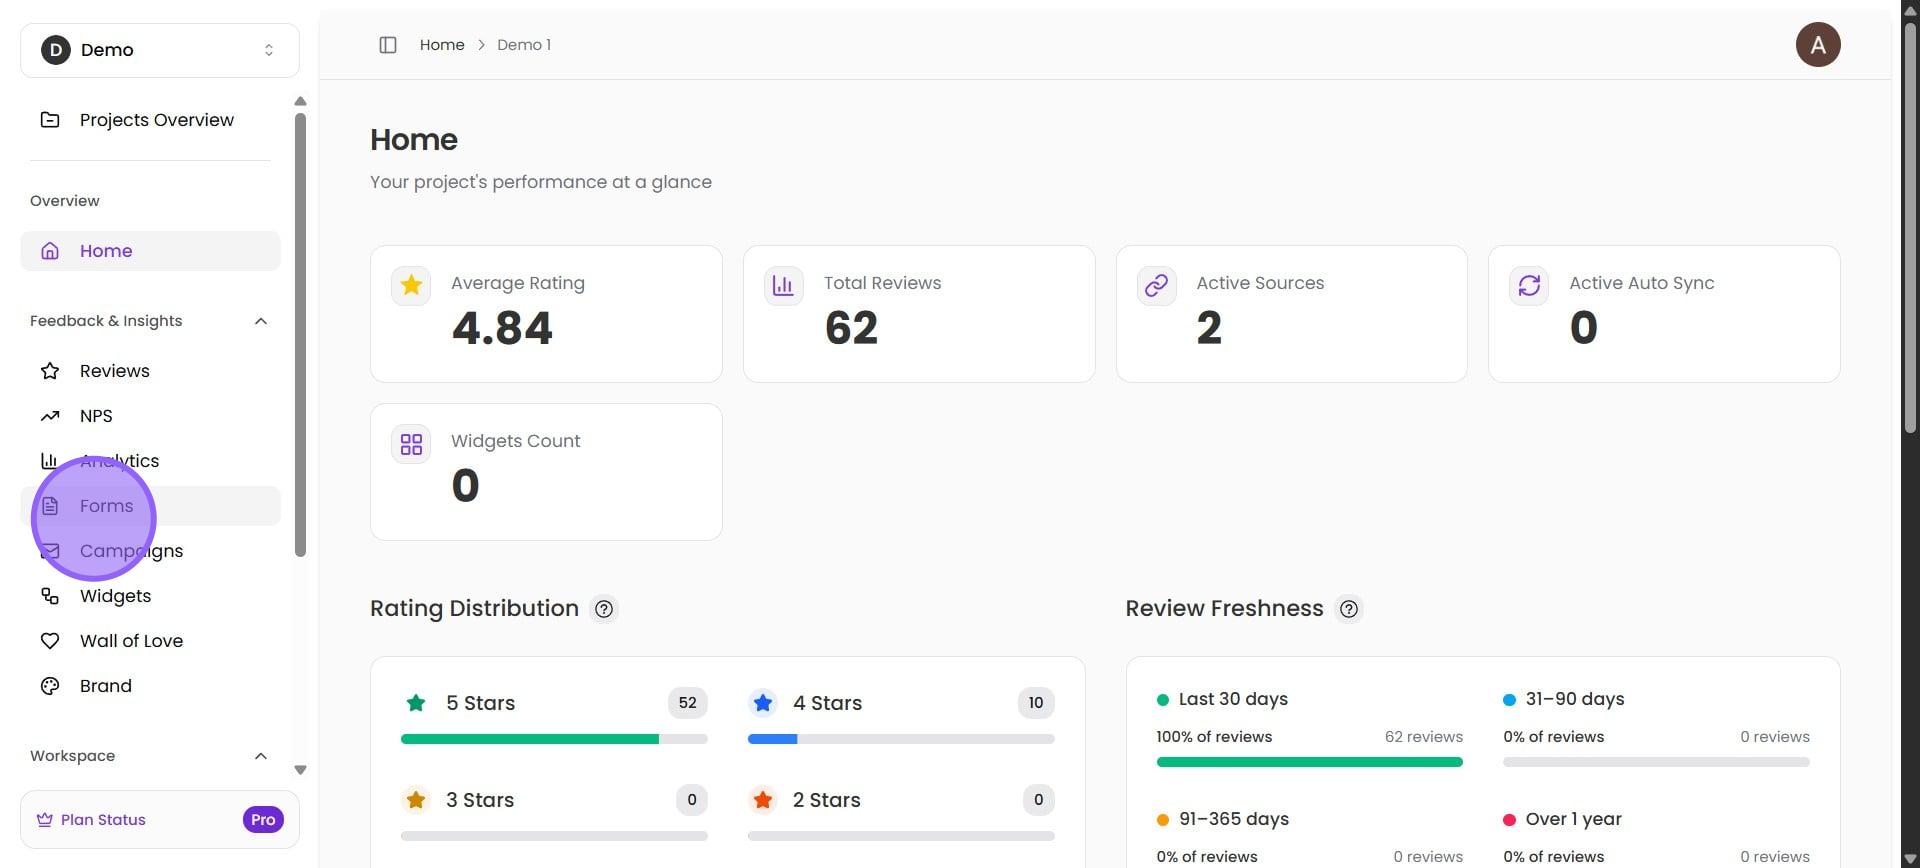
1. Click Forms on the left menu of your project home page.
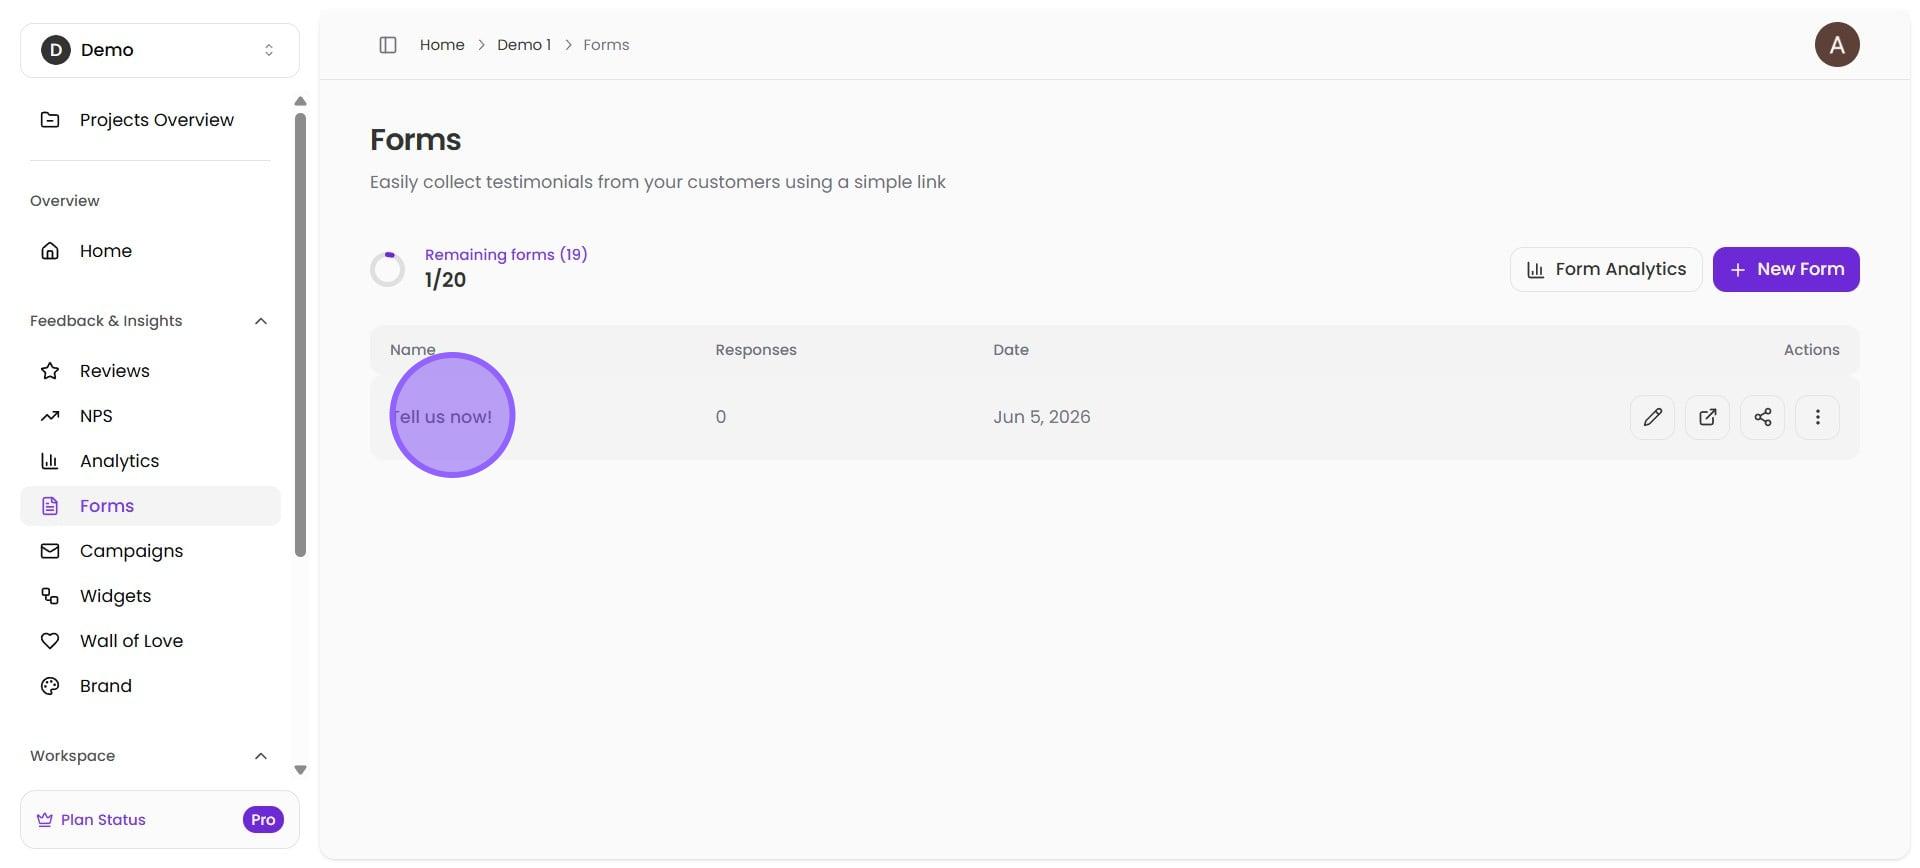
2. Select the form that you'd like to edit.
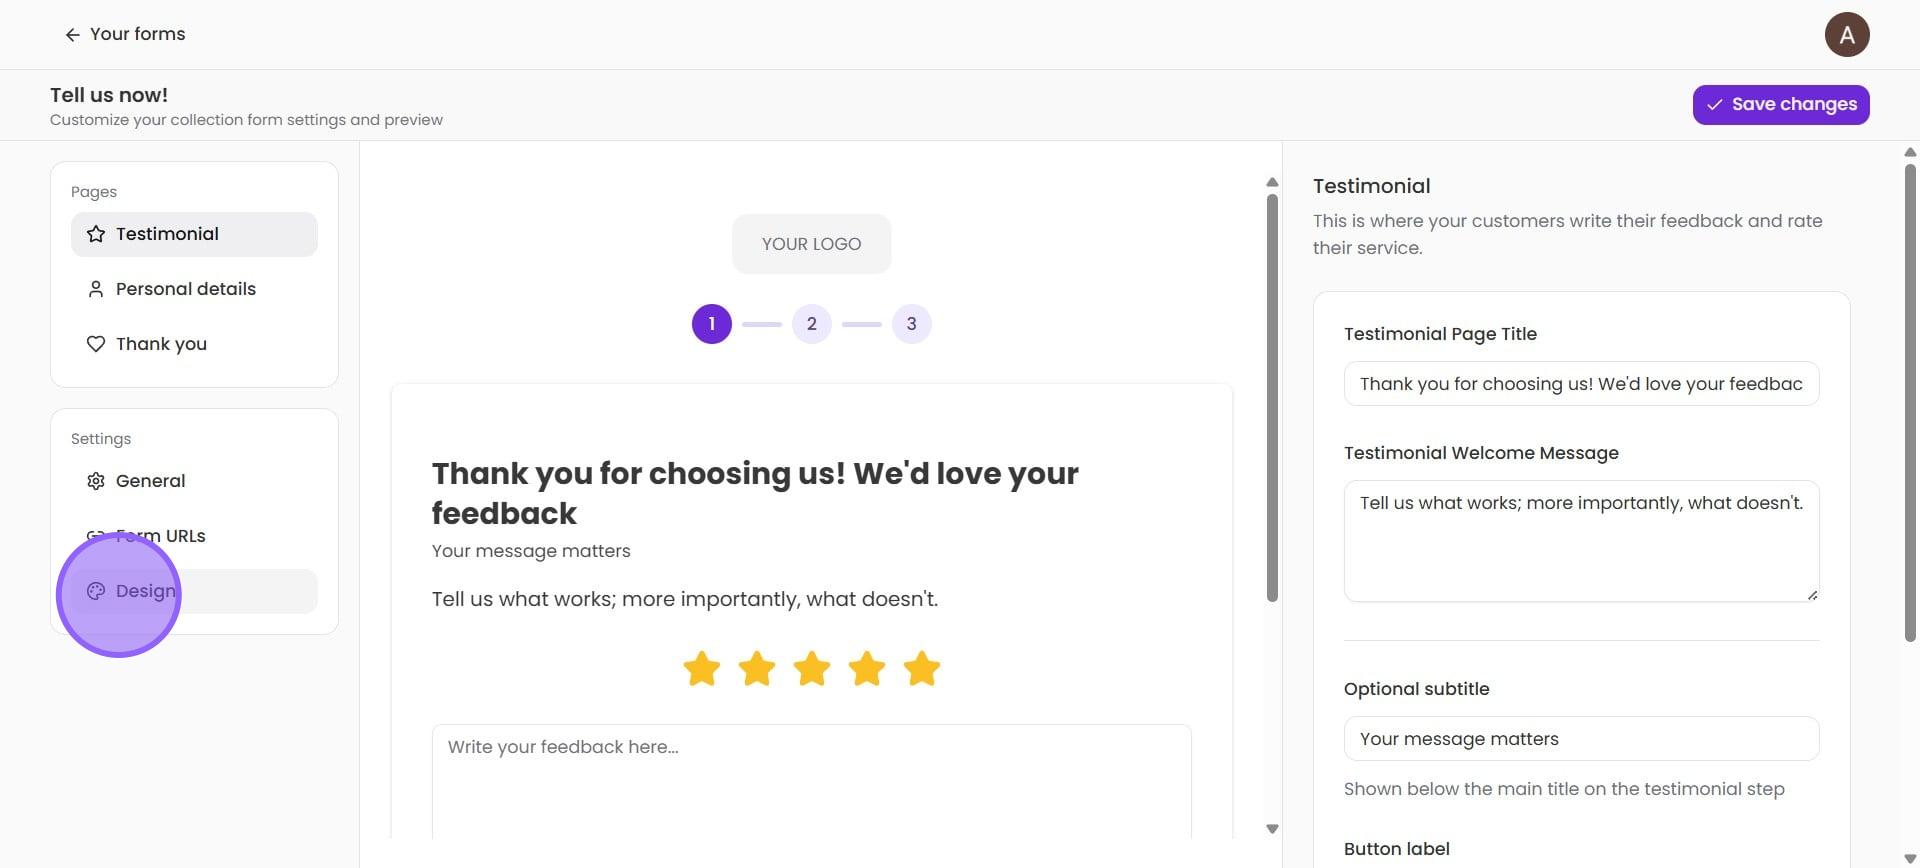
3. Once you are inside the form editor, you will see the blank space for your logo at the top of the form. Now, select Design under Settings on the left menu. This will open the design panel on the right-hand side.
Now, if your brand's logo is already added in the Brand kit, which is accessible from project settings, you can simply click Apply Brand Kit under Design. It will instantly update the form with your brand's logo, along with colors and other design elements.
If not,
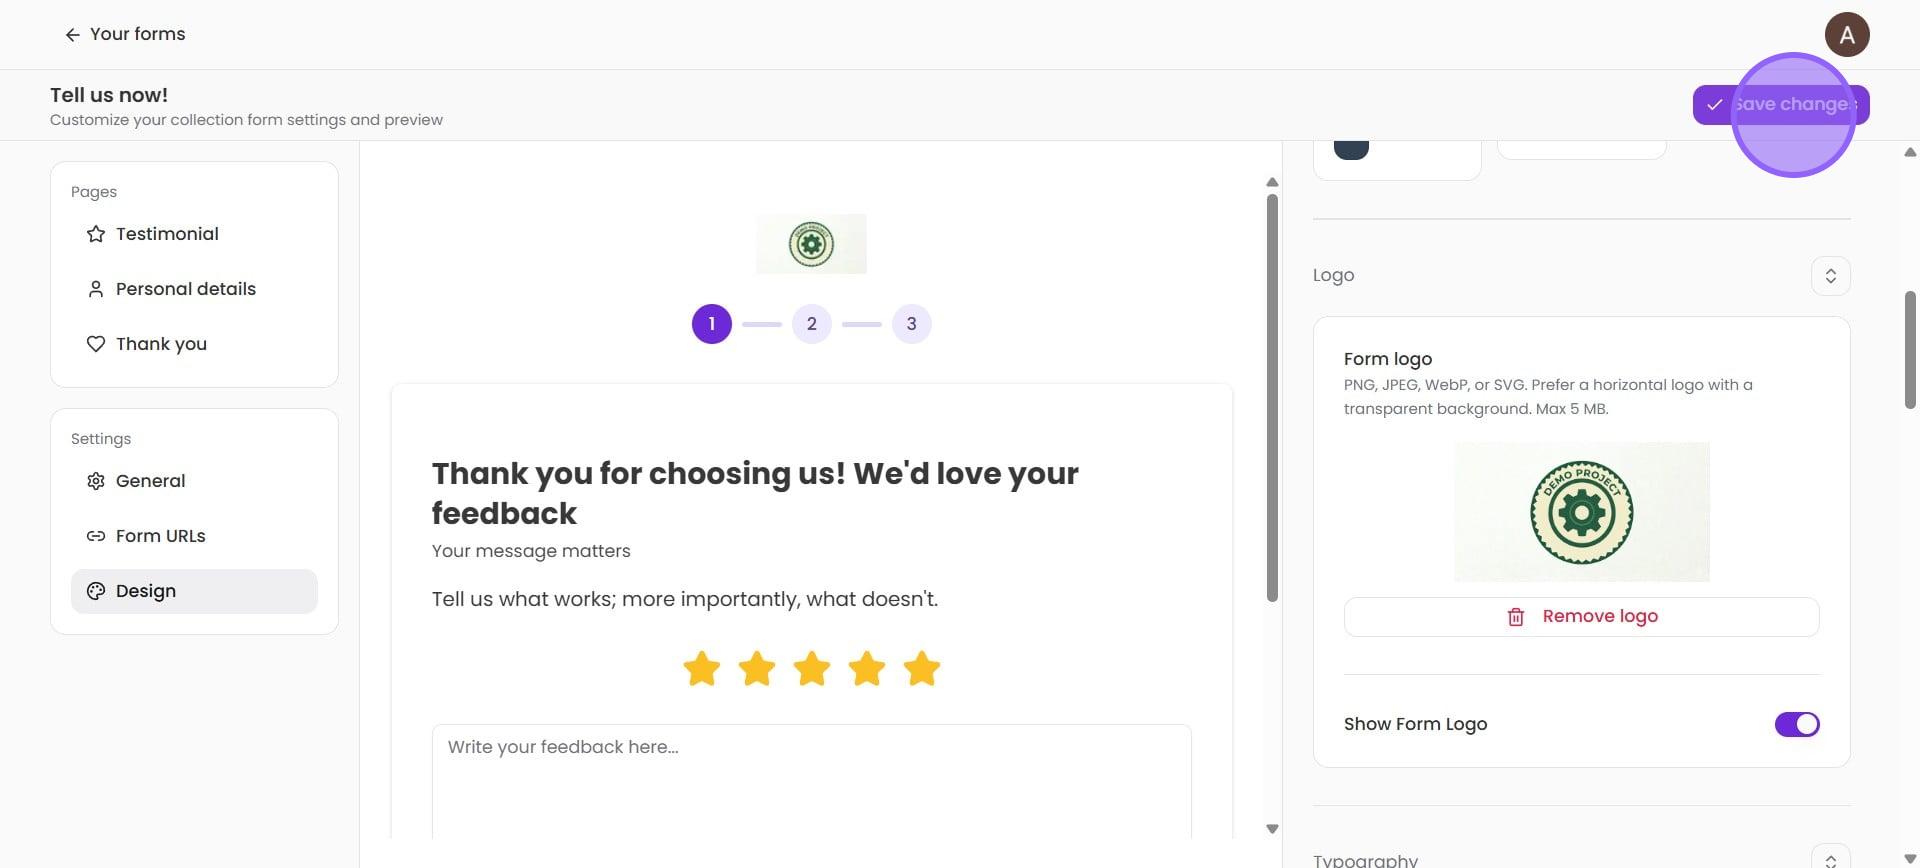
4. Scroll down to find the Form logo option. You can click Browse image to upload an image file from your computer or simply drag and drop the file here.
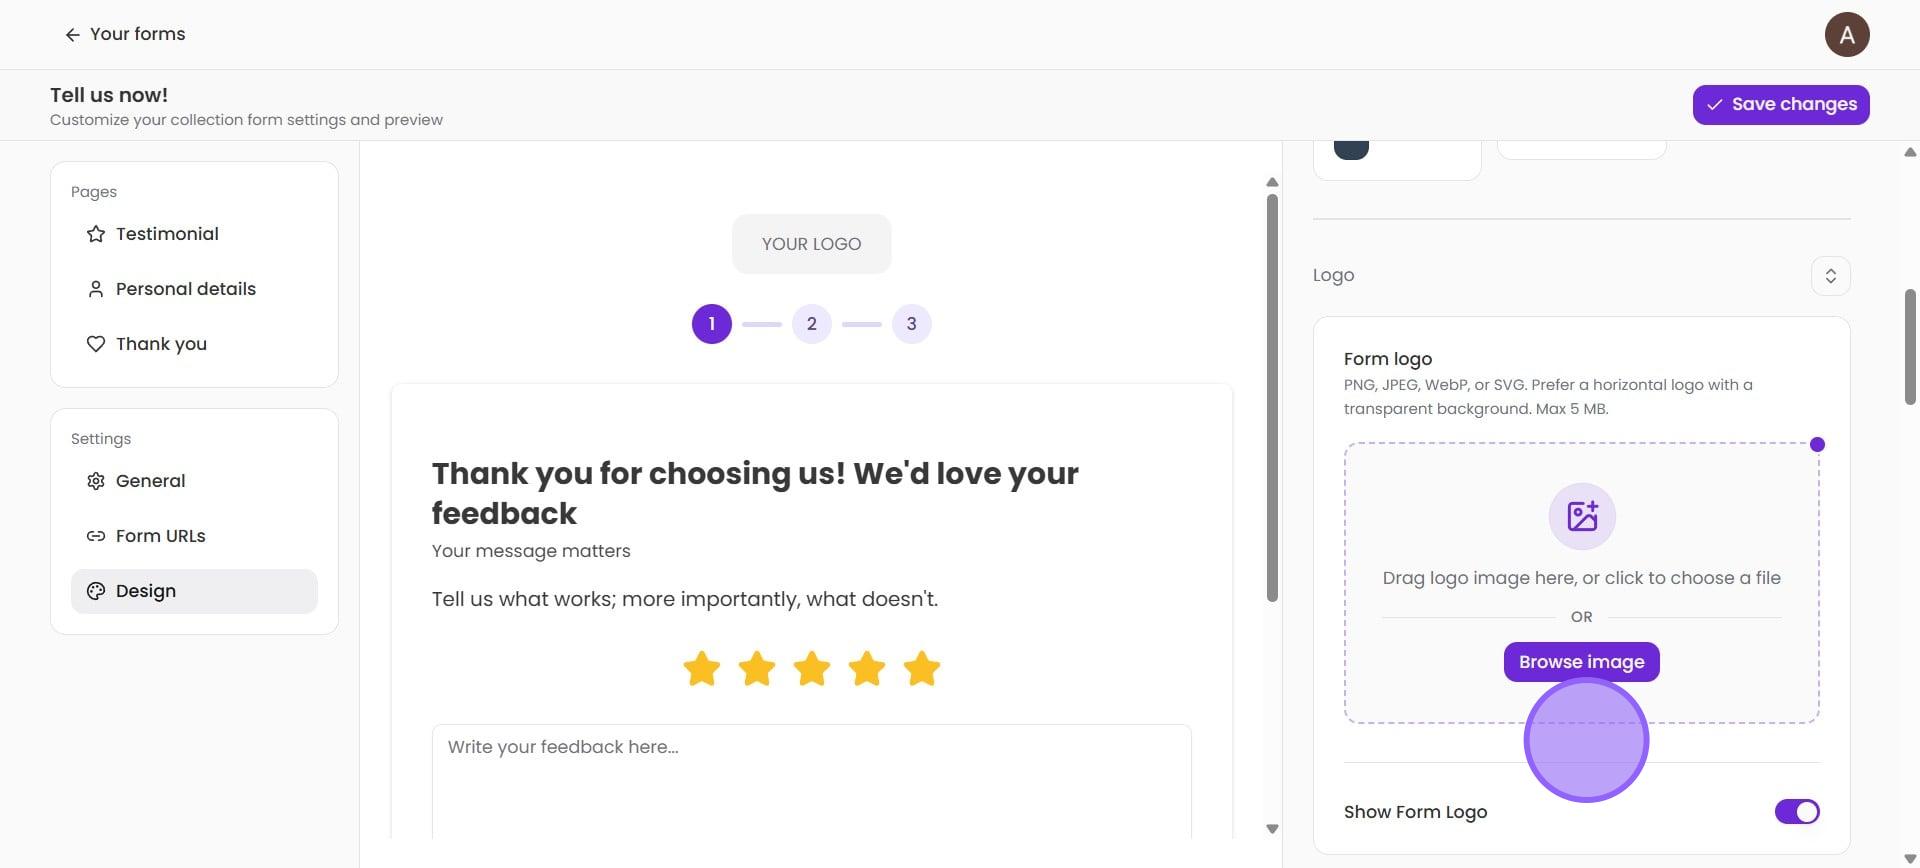
5. Once the image is uploaded, the logo will appear on the form. Click Save changes to complete the process. That's it! Your form now carries your brand's logo.