How to create a form on Bragly?
A step-by-step guide to creating a ready-to-use testimonial form
Bragly.io delivers clean, brand-native testimonial forms with robust data validation and zero development headache. Here's how to create your feedback form in a few easy steps.
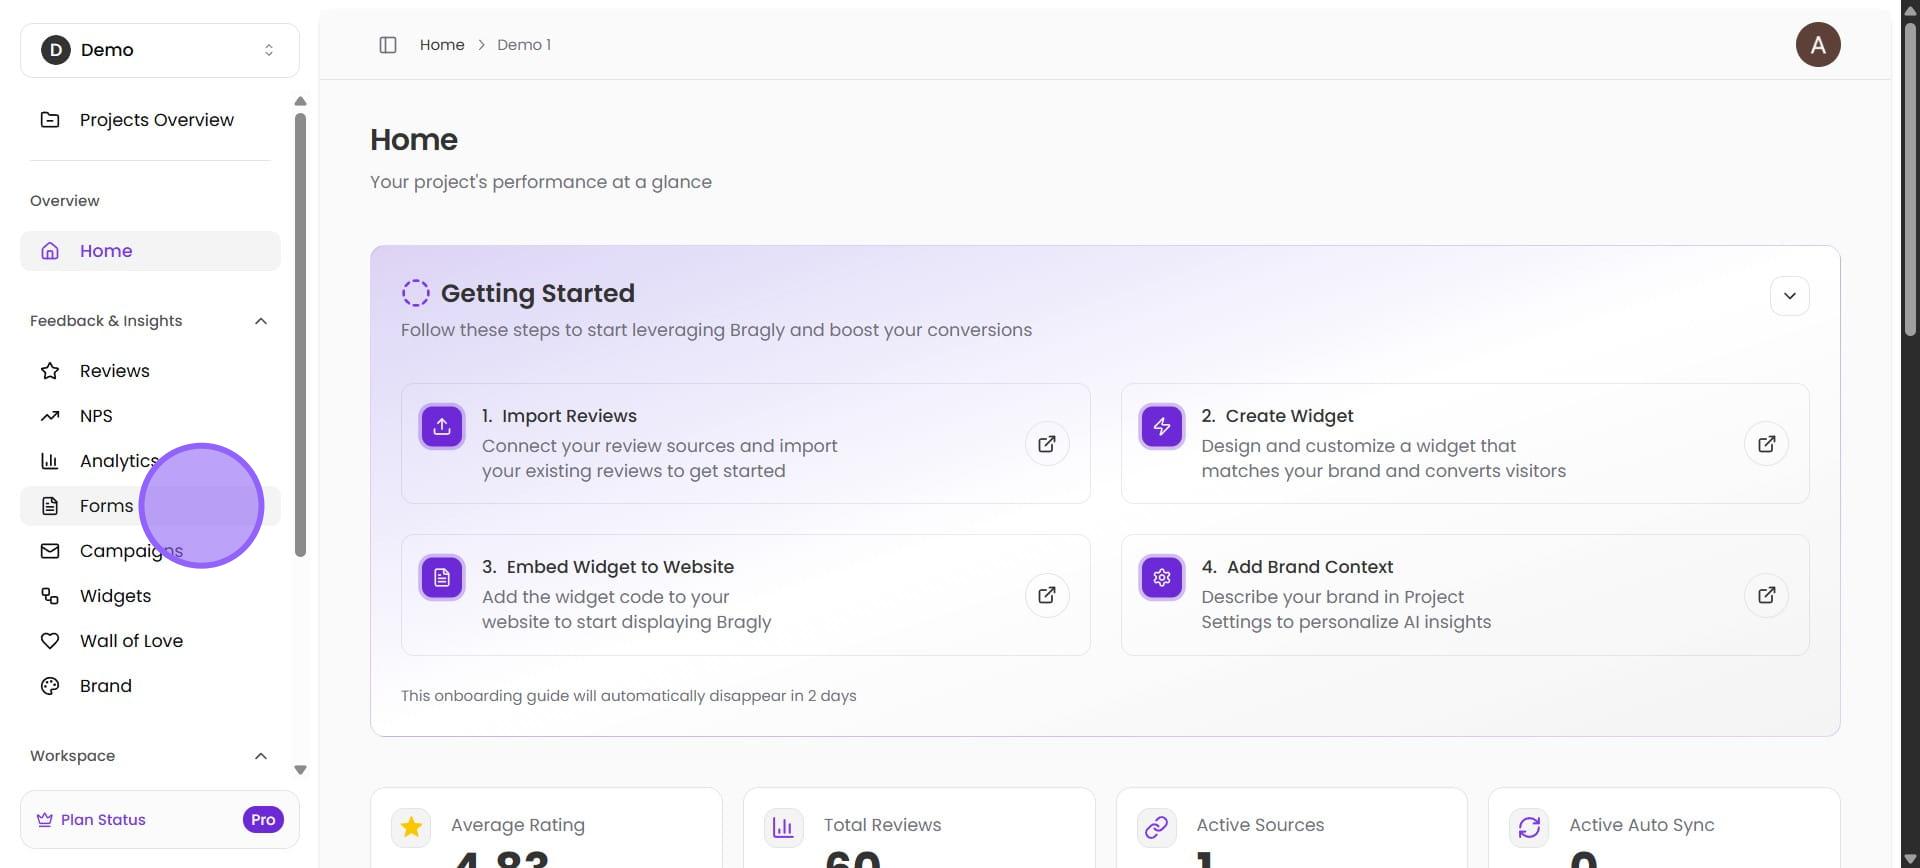
Start by selecting the Forms option from the left-hand menu of your project home page. This opens the Forms wizard.
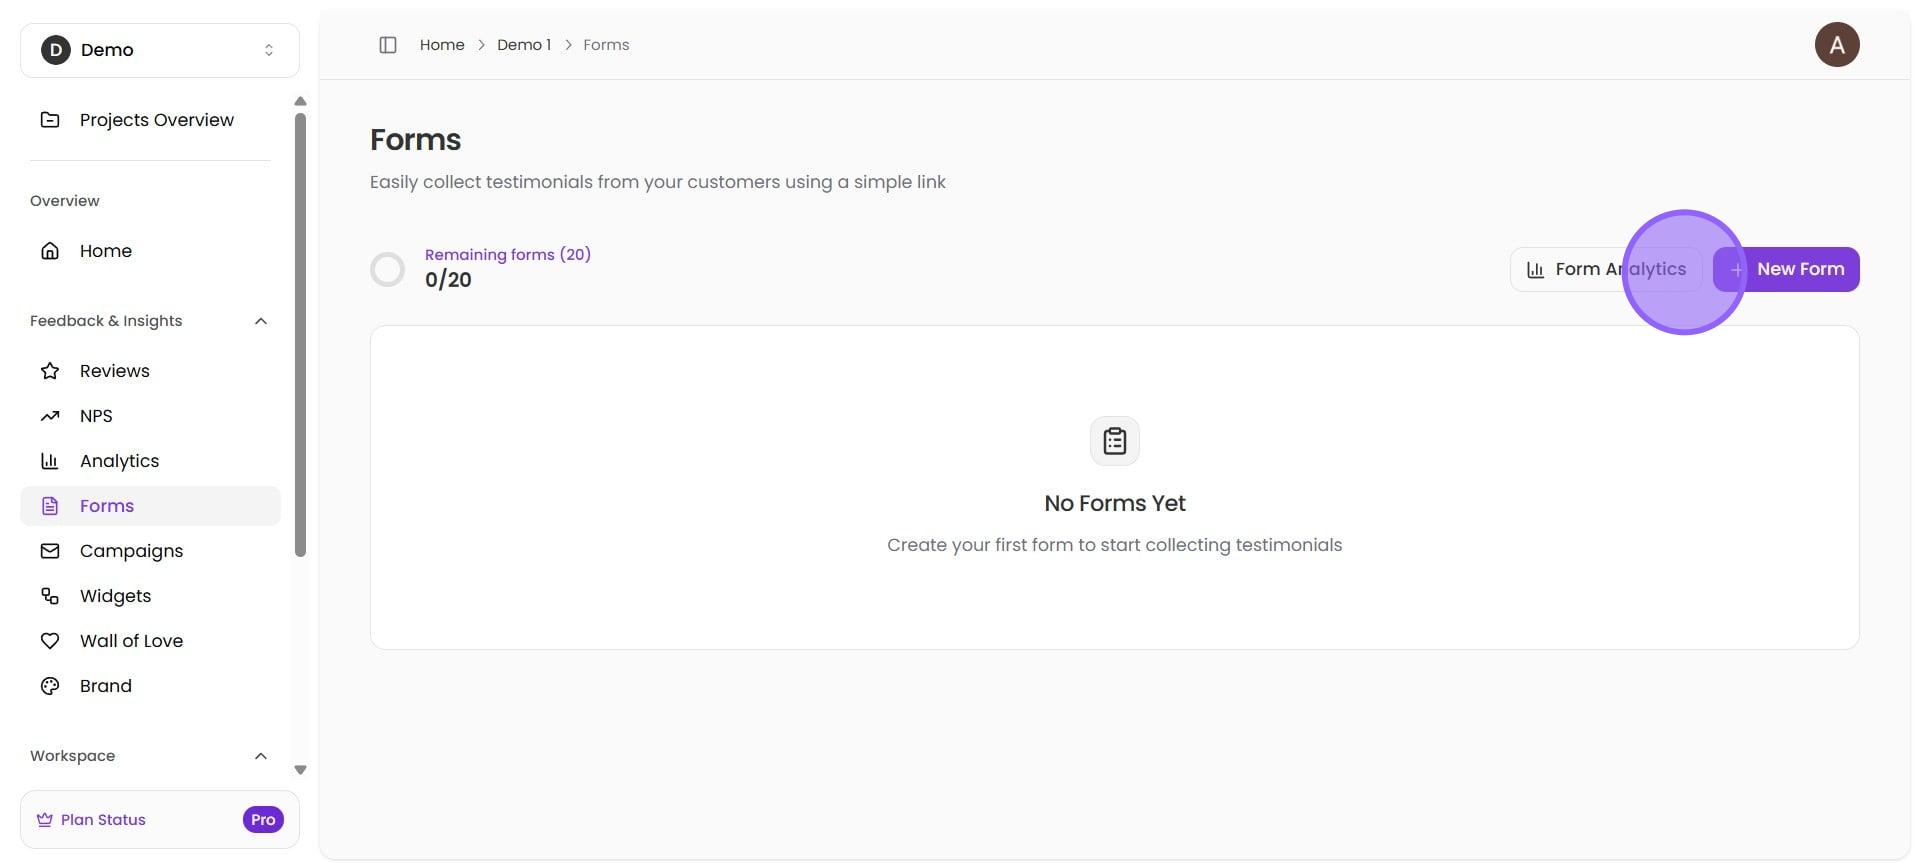
Click on New Form.
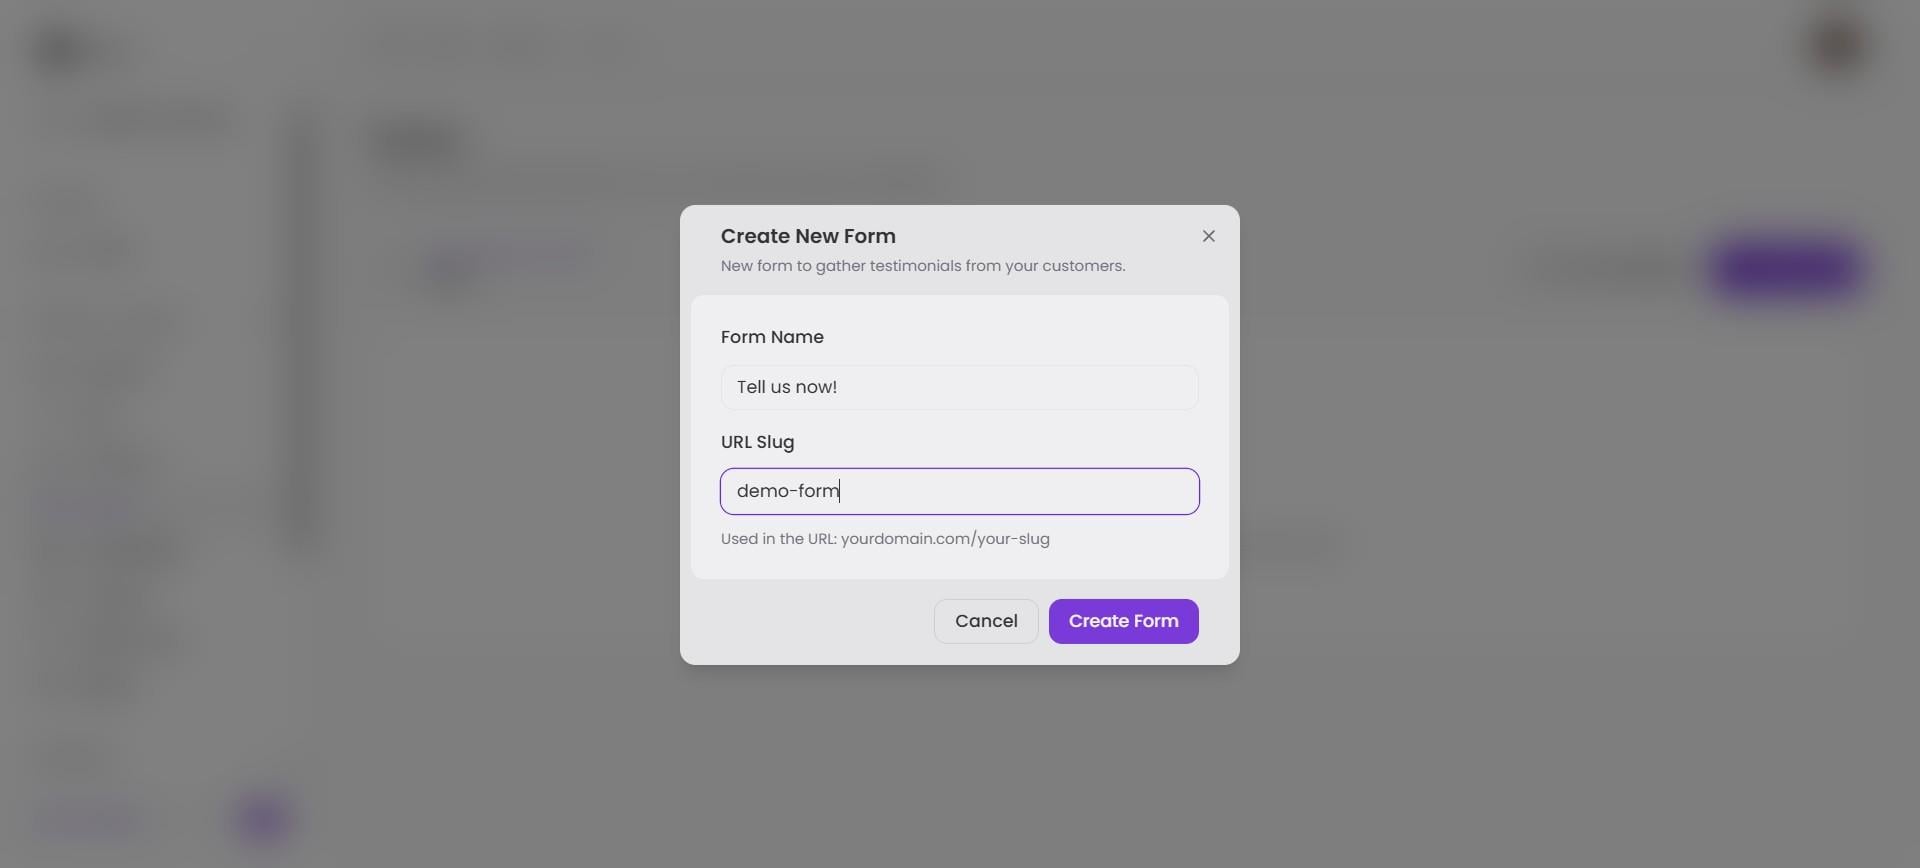
Enter a form name and a URL Slug. Don't worry, can change this later if needed. Click on Create Form.
Now you are in the form editor. The left panel shows the menu. The right panel is the text editor, and the central panel is a preview of the form. You can use the form as is, make minor changes, or change everything. Let's start with the Testimonial. Make sure the Testimonial tab is active on the left menu.
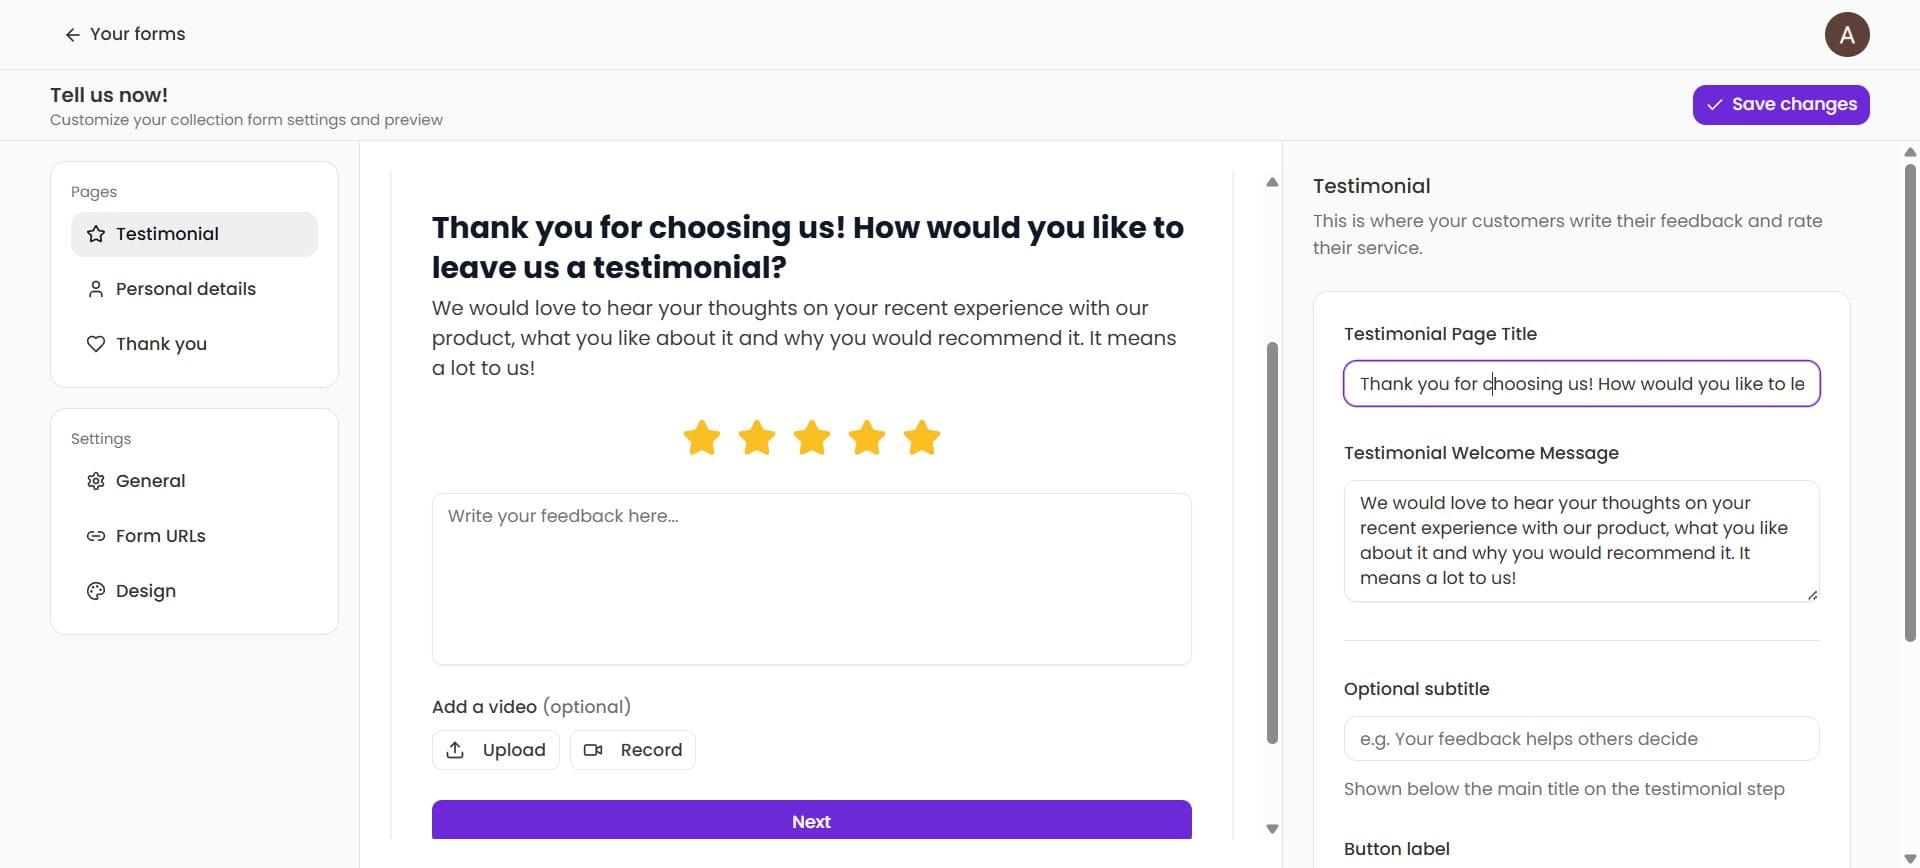
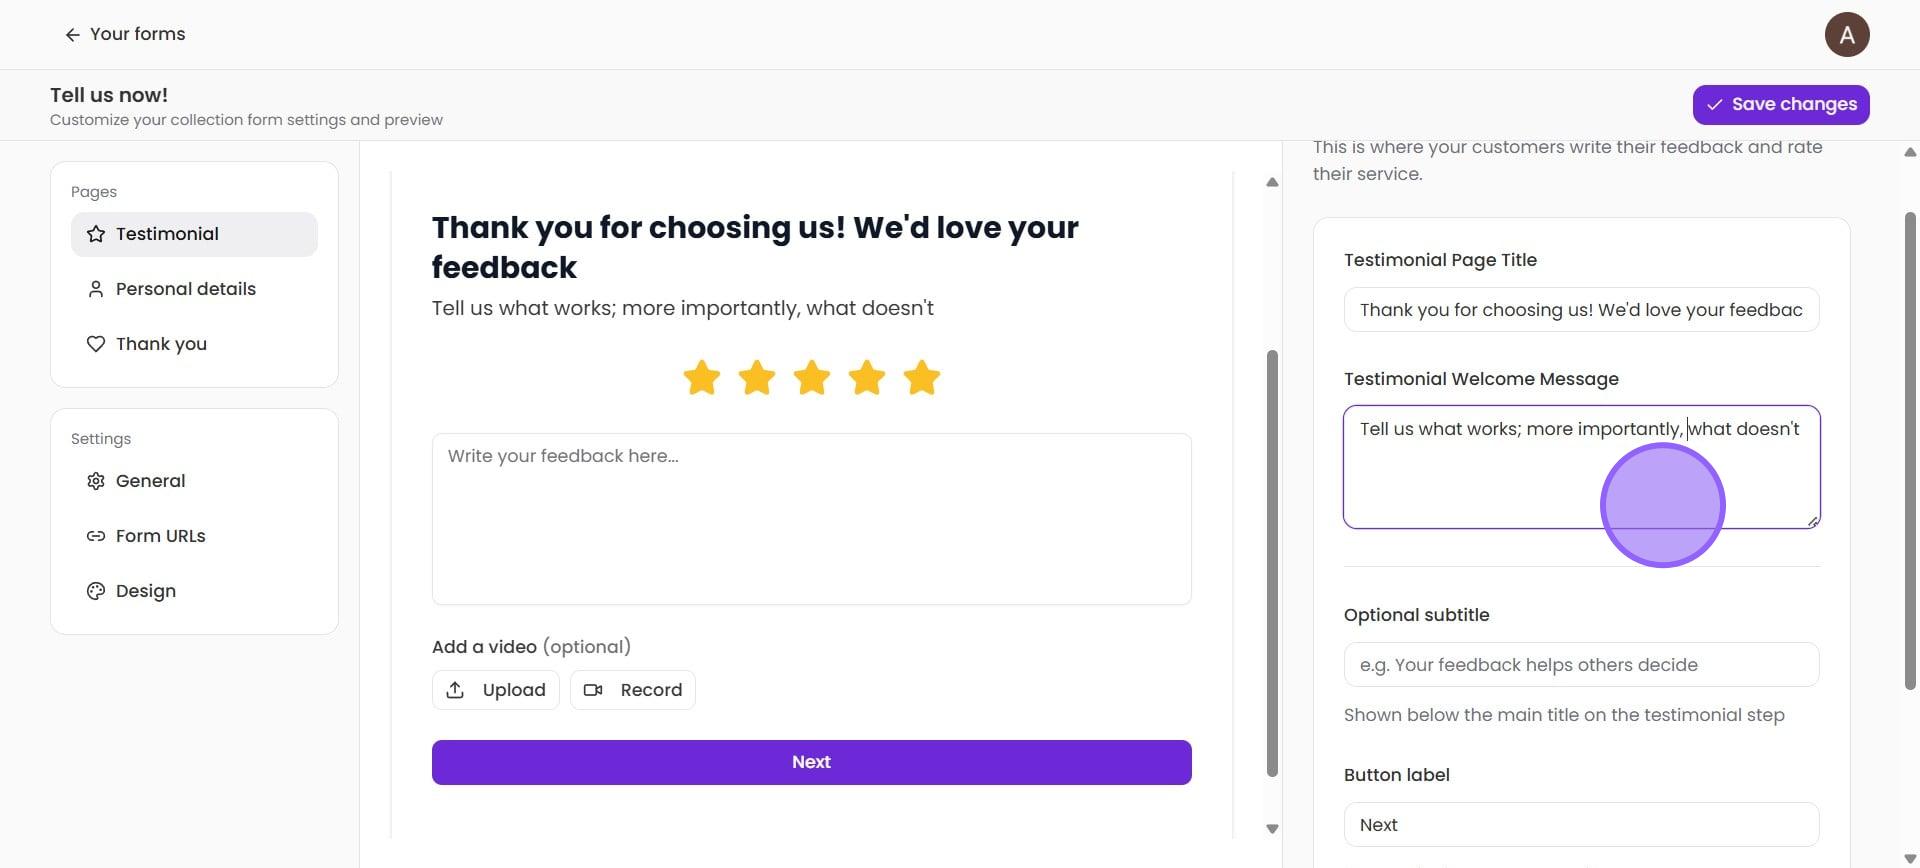
To change your form title, subtitle, or body text, simply click on the corresponding boxes on the right panel and type in or paste your text.
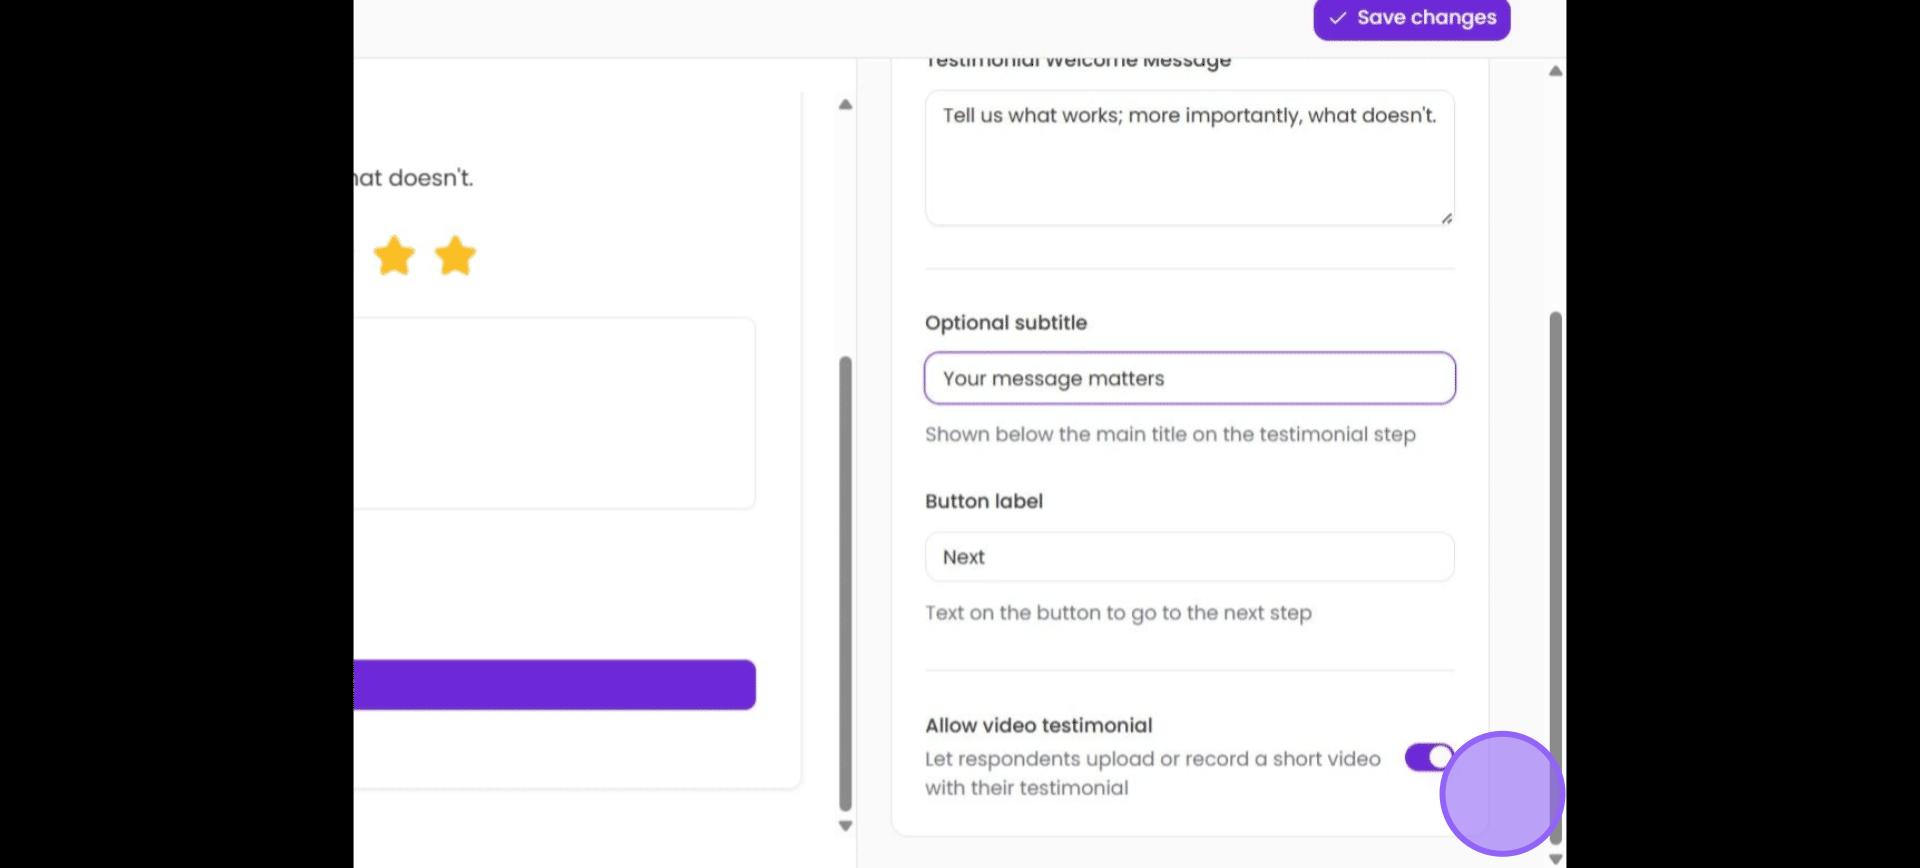
Use the toggle button next to Allow video testimonial to enable or disable video responses.
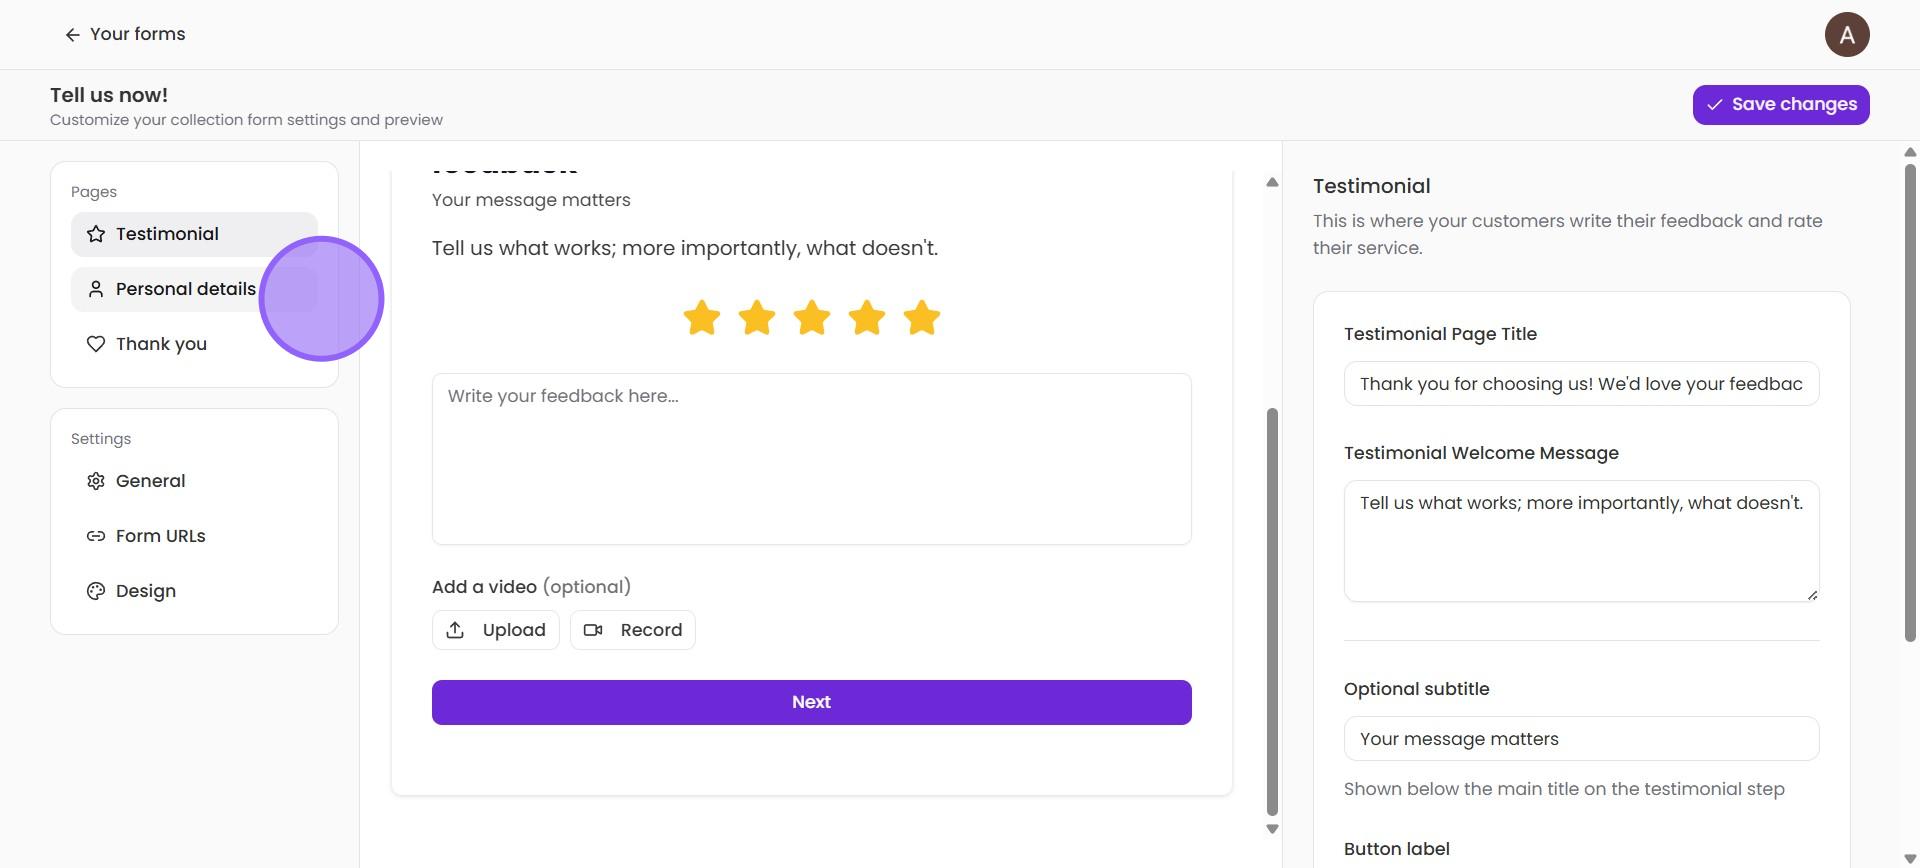
8. The Testimonial page is ready. Now, move on to the Personal details option on the left menu. This section allows you to control what and how much personal information you ask for.
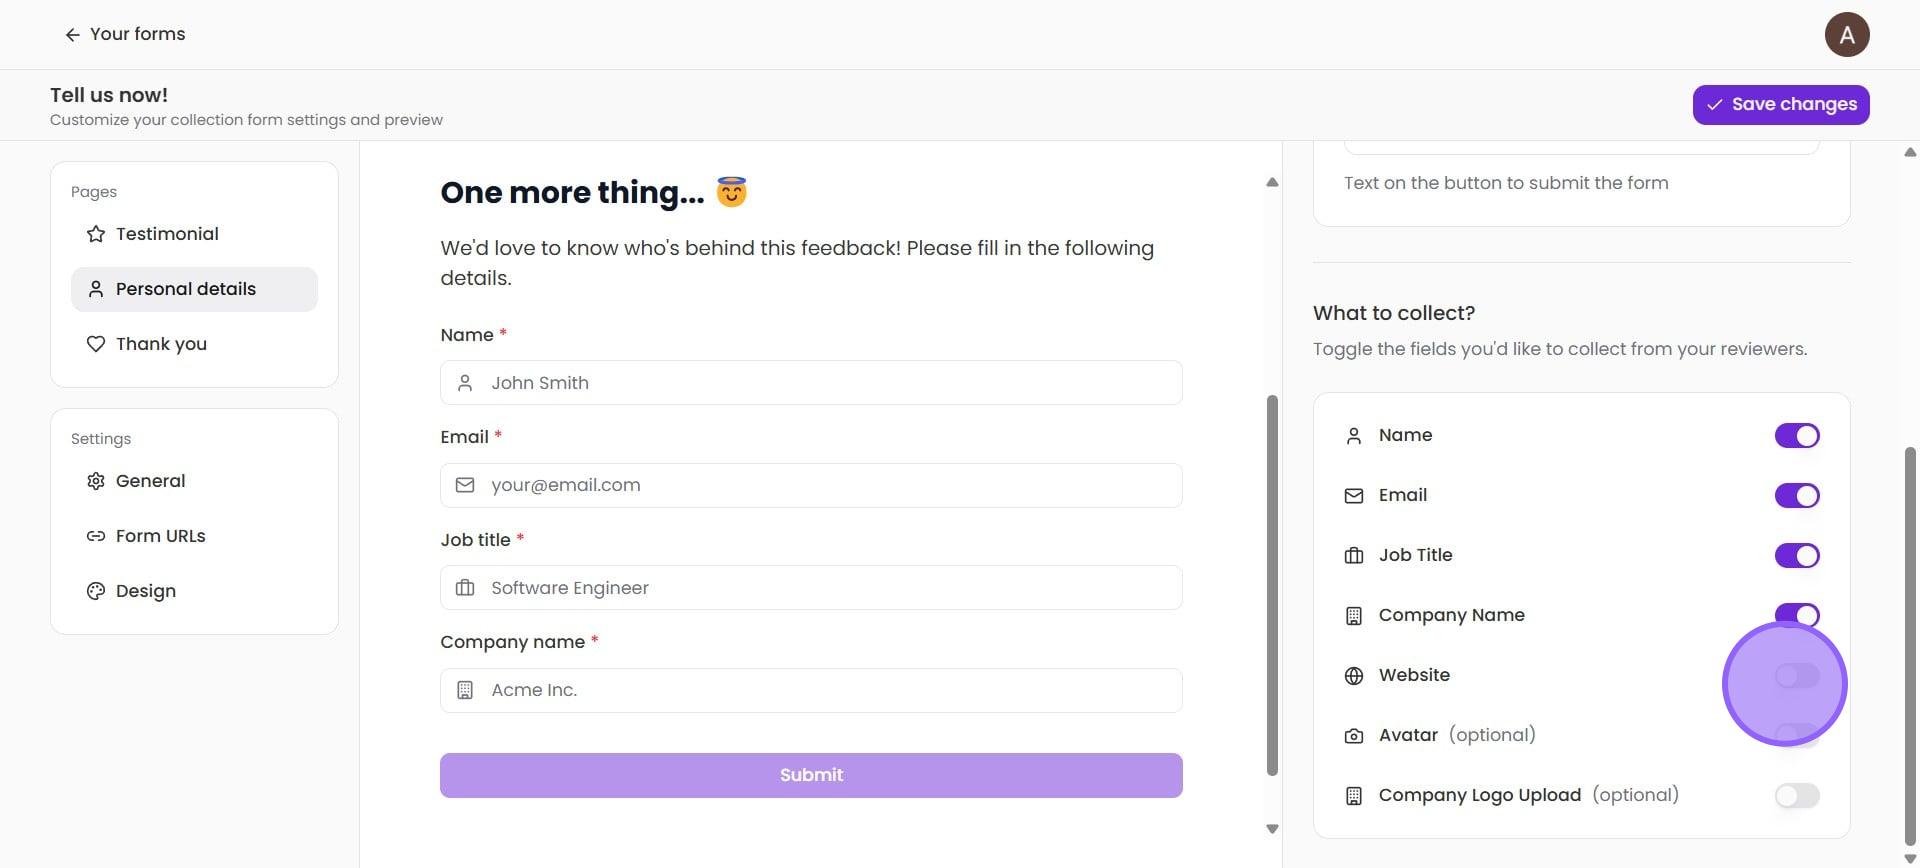
9. By default, the forms ask for the user's name and email. On the right panel, you will find a list of fields with adjacent toggle buttons under "What to collect". Use these buttons to add new fields to the Personal details page. Once you are done, hit Save changes.
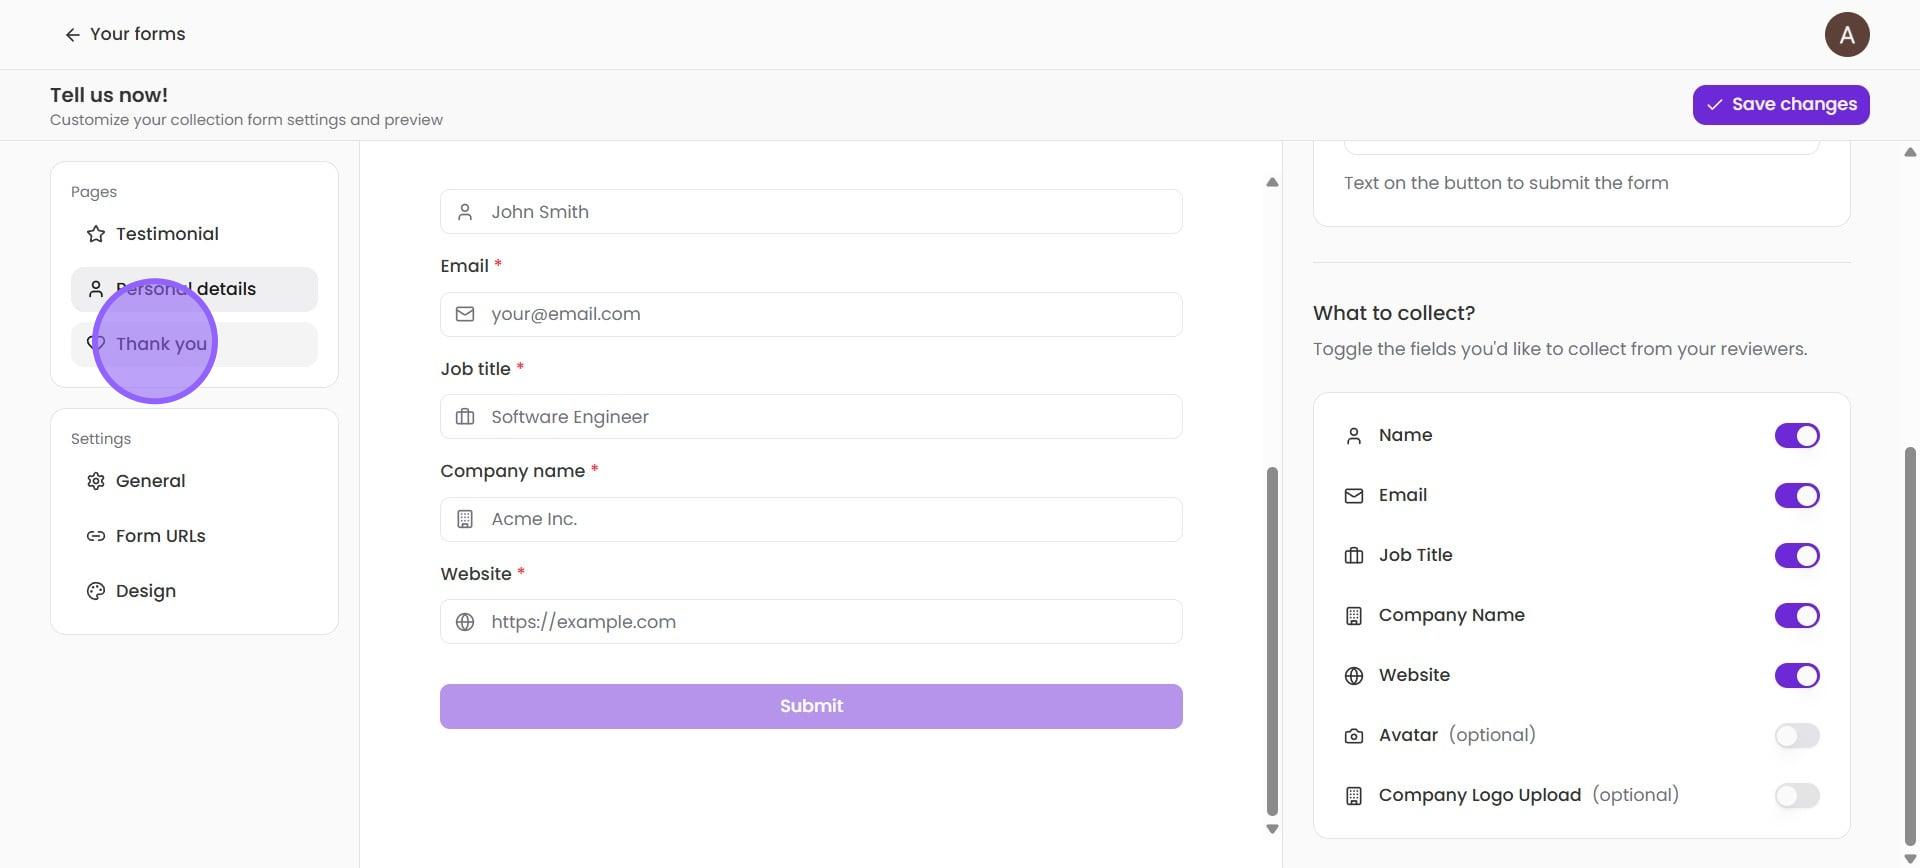
10. Now it's time to finalize the last page. Click on "Thank you" on the left menu.
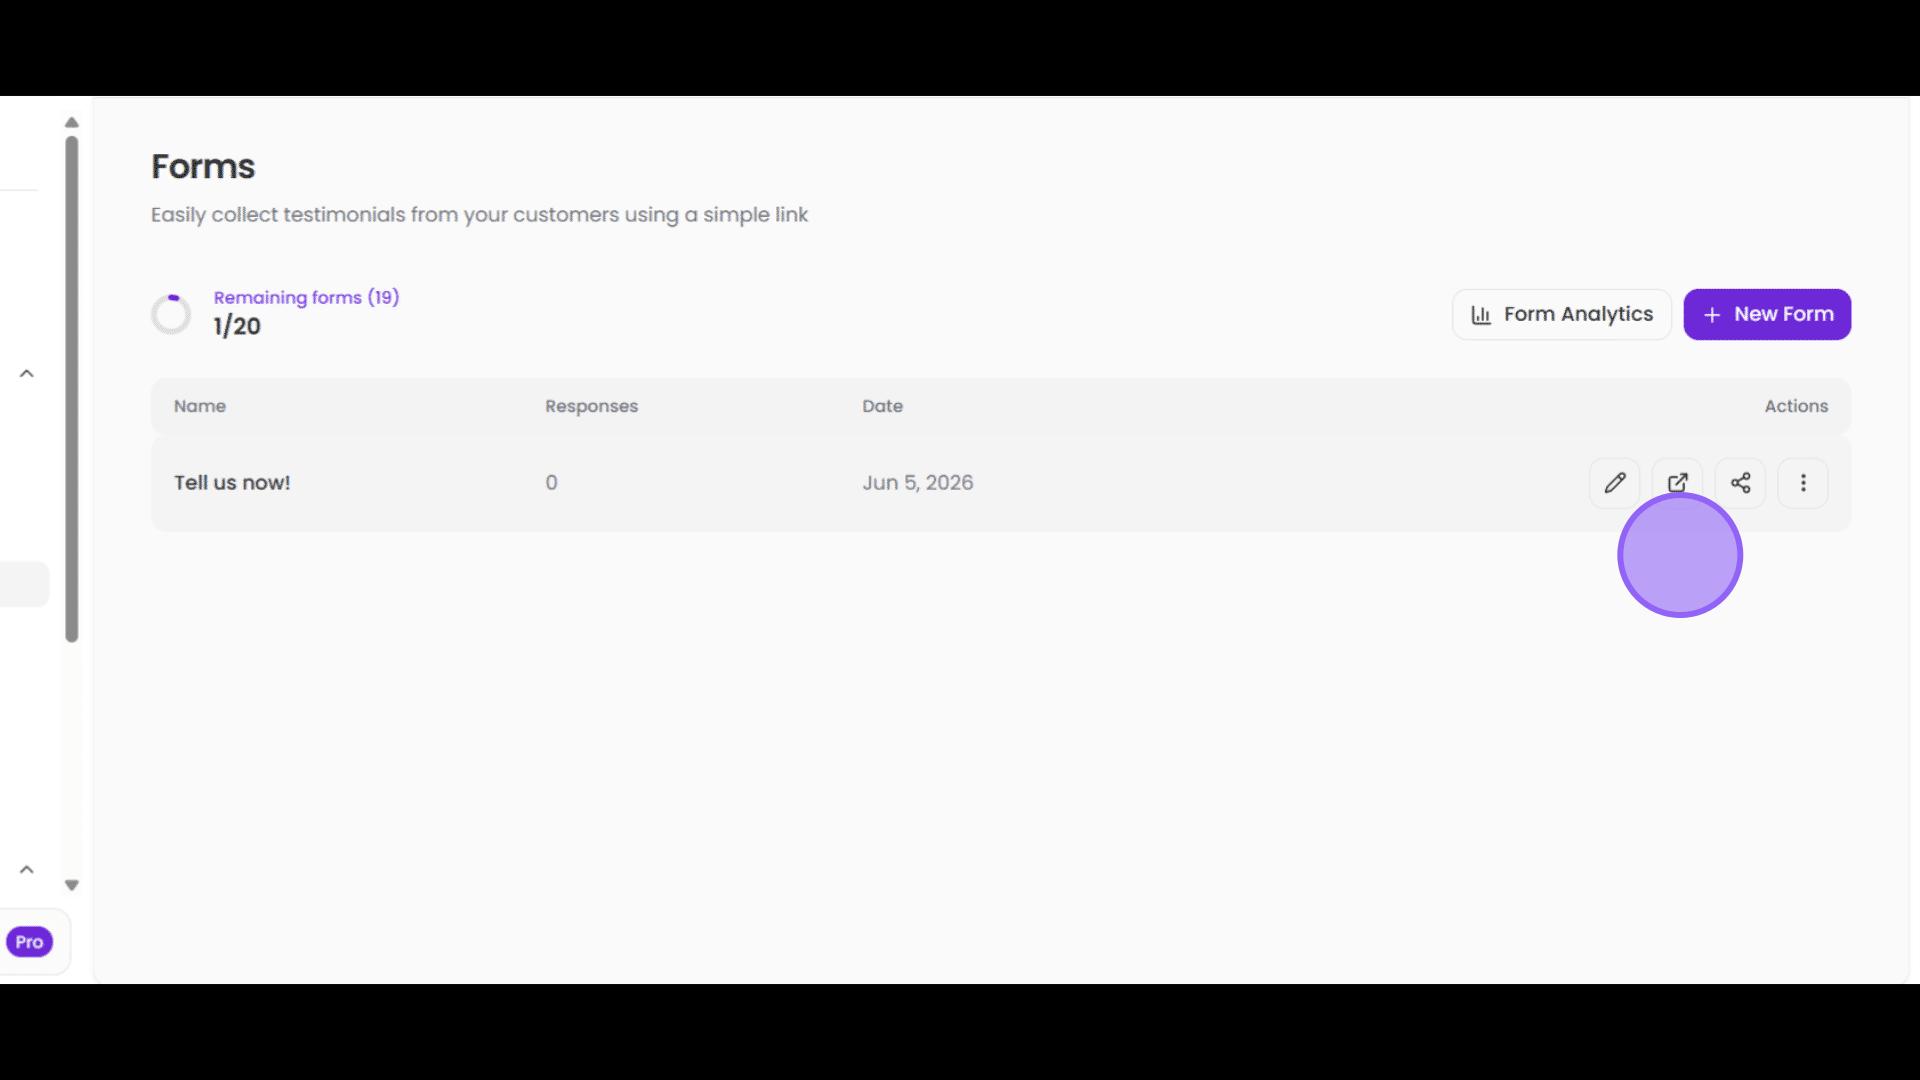
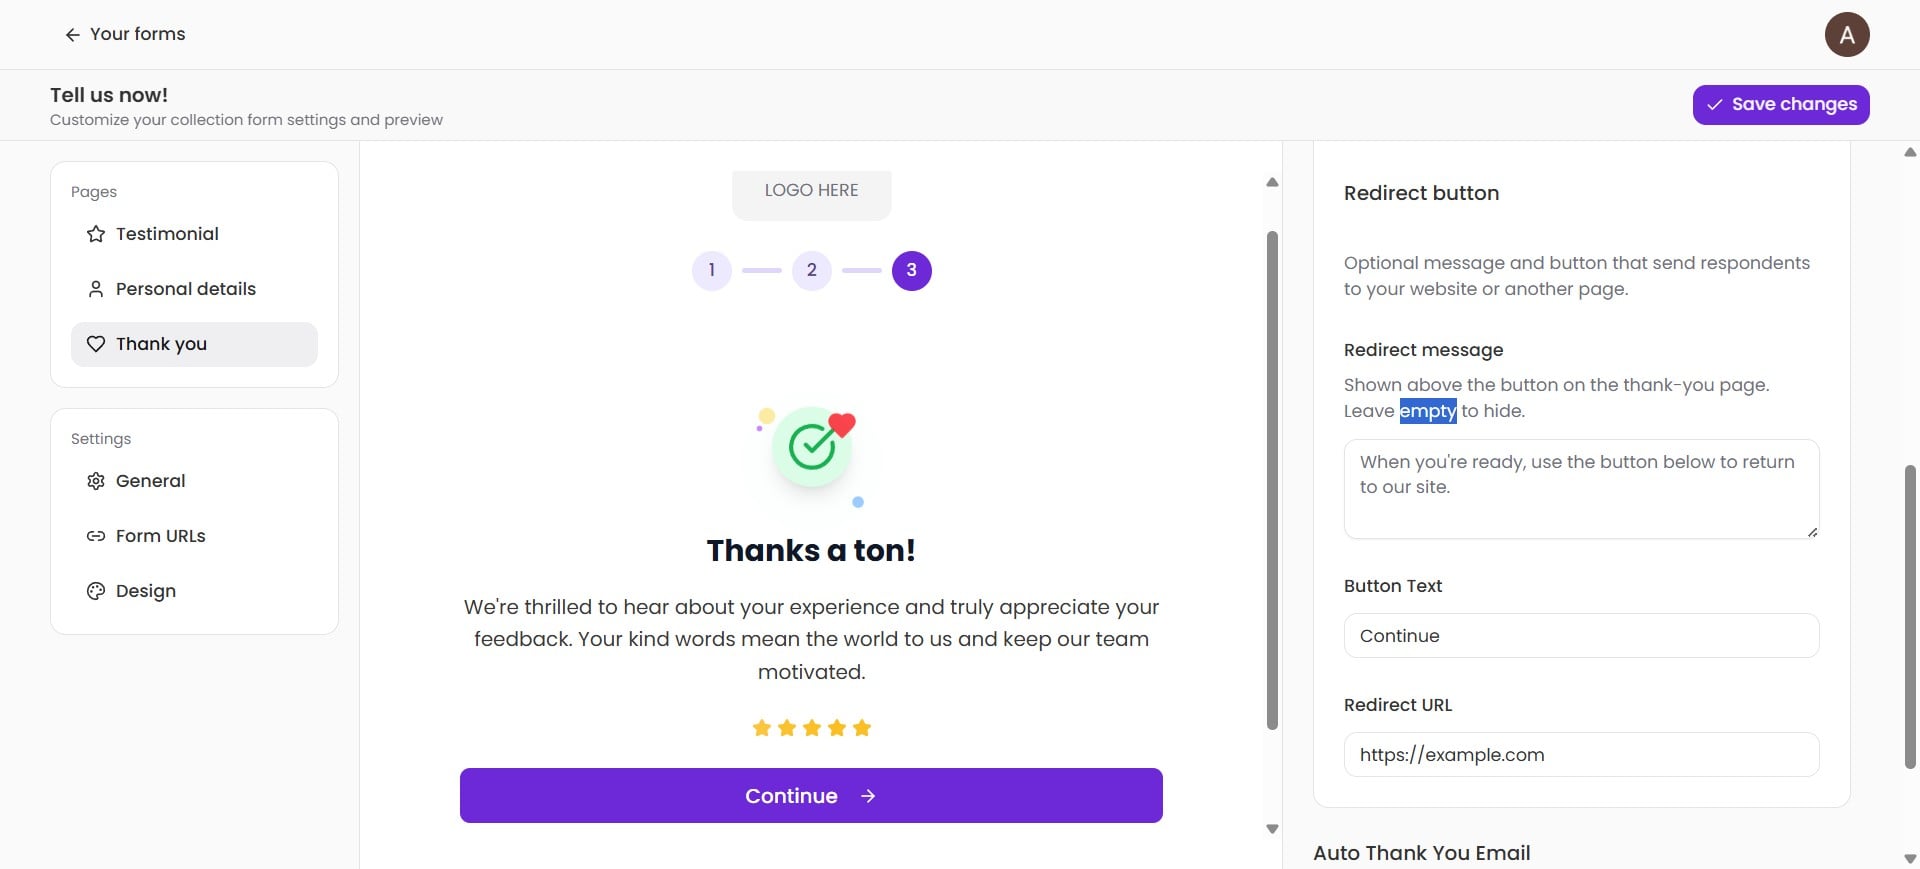
11. This too is a ready-to-use page. You can customize the content, change the text on the button, and add a redirect URL. Note: the auto thank you email is sent to the users automatically if they have shared their email in the Personal details page. Click Save changes to ensure all updates are saved.
12. Now, if you go back to the Forms page by clicking Your forms at the top left, you'll see that a form has now been added to the list. Click on the view button to see what your customer will see and make sure that everything is in order. That's it. Your feedback form is ready.